Buy Magic mushroom grow kit Golden Teacher XP Online
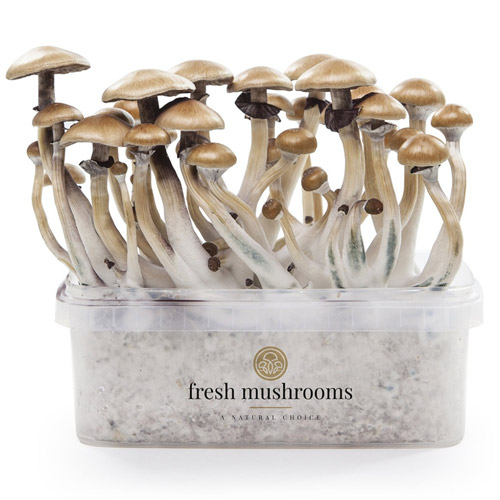
It’s quite simple to grow mushrooms with the Golden Teacher XP Fresh Mushroom Grow Kits. The fully colonized substrate in these kits requires no maintenance at all because there are no fillers. It takes very little effort to achieve your first high-psilocin flush. As long as you follow the guidelines listed below, you should have a bumper crop of mushrooms!. Magic mushroom grow kit Golden Teacher XP – FreshMushrooms®
- Quick growth: 1 week before the first pins
- High yields: four flushes maximum. (In perfect circumstances)
- Strong Potency: The source claims that the XP (Extra Potent) strains have twice the potency!
Items included in the Golden Teacher XP Mushroom Grow Kit
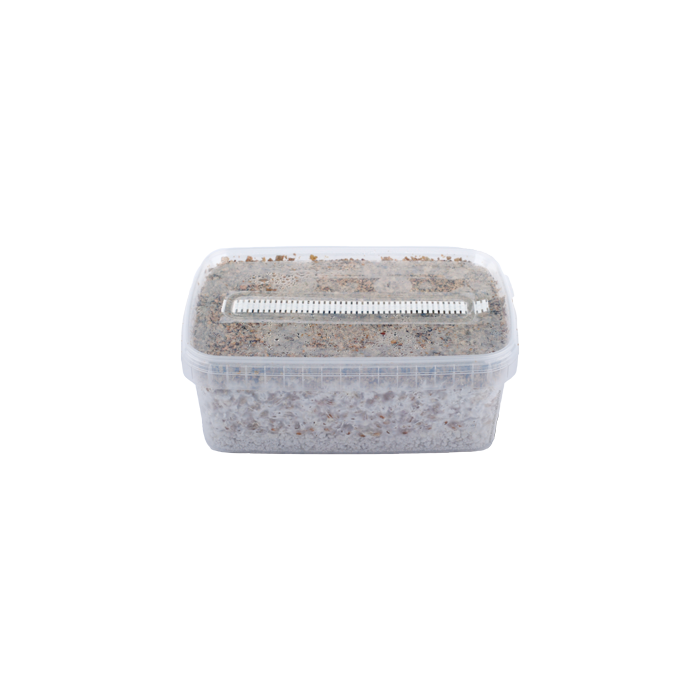
- 1x Golden Teacher Mushrooms Grow box – This contains rye substrate with active mycelium
- 1x Growbag – The bag has filters across the bag.
- 2x paperclip – For closing the grow bag.
You need
- Misting Bottle – Misting is needed for the humidity level
- Potable water – For misting and soaking
- Clean environment – Work clean to give other fungi and bacteria (micro organisms) no chance to contaminate.
Our suggestion is to use
How to get ready before starting: both yourself and the space
- Seal off any ajar windows. Microorganisms that could infect the Magic Mushroom grow kit could be brought in by wind or draft.
Place the grow box with the cake on a sanitized surface after removing it from the carton box. - Microorganisms could stick to the grow box and flourish within the Magic Mushroom grow kit, contaminating the grow box if this surface is not clean.
- Make sure your hands and arms are clean when working. When handling the kit, we advise using surgical gloves or a good disinfectant. To prevent breathing onto the cake and into the grow bag, wear a facemask.
Instructions: Starting the Golden Teacher Magic Mushroom grow kit
-
- Remove the paperclip, plastic bag, and magic mushroom grow kit from the box. Take off the mushroom grow kit’s lid (be sure to store it properly). Under running water, rinse the lid. Later on, you’ll require it once more (step 7).
- The mushroom grow kit should be placed in the plastic grow bag with the opening at the top, lid removed.With the microperforation facing up, slide the bag’s opening under the bottom. Now, most of the bag’s opening is closed. The flow of air is not a concern for you.
- The grow bag can be turned upright as soon as you notice the first little mushrooms, often known as pins.Don’t irrigate!After roughly a week, the first magic mushrooms will become visible.
- The mushroom grow kit should be placed in a well-ventilated space with a temperature range of 18 to 28 degrees Celsius. Keep the grow kit out of direct sunlight at all times. While they can grow in practically any temperature above 15 °C, the best harvest temperature is 23 °C. To maintain this temperature without having to heat the entire space, special heat mats are offered.
- Phase 2: As the pins hold the bag slightly open the entire time to allow the moisture to escape, the mushrooms get somewhat bigger. Excessive moisture content is bad.
After about a week, the first mushrooms will be seen. A week or so after that will be your first harvest. Ensure that you harvest in advance of the first spores falling! The initial harvest from fresh mushroom grow kits is produced really rapidly. In just one week, the first buds are already apparent. This growing phase may be slightly delayed by high or low temperatures. The mushrooms typically take one to two weeks to completely mature.
- Multiple mushroom harvests can be produced with these kits. After the first harvest, do this by filling the kit with fresh tap water. We call this procedure “cold shock.” It guarantees that there is adequate moisture for the mushrooms to thrive and gives the mycelium fresh life.
- Reattach the grow kit’s lid to the kit. Give the kit a full day to relax. To release the extra water, pry open a corner of the cover. You can then repeat the steps from step 1 after this. You can carry out this procedure multiple times.
Growing with a heatingmat (use only for this brand)
Put the Grow Kit-filled plastic bag on the heating surface. Turn on the heating mat. After two days, turn off the heat pad and observe until the buds are fully formed, which typically takes ten to fifteen days. After that, turn the heat mat back on and slightly open the bag’s top to let the moisture out.
What to do if, after 10 days, the buds still haven’t formed. After removing the cake from the plastic box, place it back inside the box on its side and begin the second round of two days with the heat mat.
How to store the grow kit correctly
It is recommended to start the cultivation process right away. If you decide to start growing later, you may store themagic mushroom grow kit inside a Soaking Bag in the refrigerator (2°C to 8°C) for 4 weeks after the production date.
Temperature
The ideal temperature is 24°C. Do not have the temperature drop under 18°C and not exceed 29°C. To keep the temperature from dropping under the 18°C, you can use a thermo mat to maintain the ideal temperature. A thermo mat is a must-have in the winter or colder regions of the world.
Light
The magic mushroom grow kit only needs light for the mycelium to ‘understand’ it has reached the surface. Only then, mushrooms will grow. A few hours of fluorescent/artificial light or indirect sunlight a day is more than enough. Direct sunlight kills the mycelium, so avoid the sun to shine directly on the grow kit.
Mushrooms
If the conditions are optimal, you can expect the first small mushrooms (the pins) to appear between 7 and 10
days. This also depends on the strain. Some cubensis strains grow slower than others.
Flushes
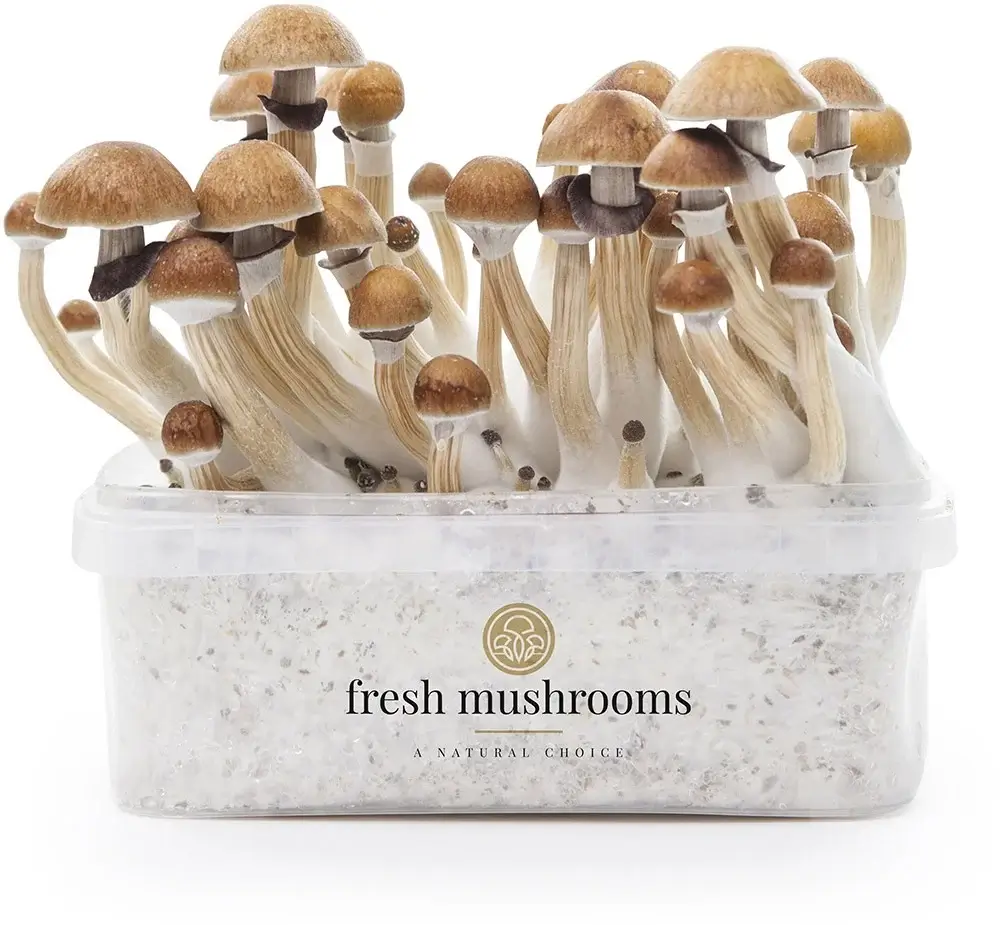
The mushrooms come up in groups. This can be a small or large group. That depends on the strain. A growth like this is called a flush. Mushrooms are almost never ripe at the same time. You can get more than one flush out of a kit. The first two flushes are the largest. When more flushes come, they will be smaller than the previous one.
Picking
Picking mushrooms when the veil between the hat and the stem has just torn indicates that they are ripe. Do not delay any longer. If possible, wash your hands, wrists, and arms. Wear surgical gloves. Select the ripe mushrooms while leaving the others to grow. There is no top layer, like vermiculite, on the cake. Compared to the regular grow kits, this makes picking the mushrooms considerably easier. Placing the mushrooms between your thumb and index finger will make it easy to remove them from the cake. The mushrooms released their grip quite quickly. Once the majority of the larger mushrooms have been harvested, proceed to harvest the smaller ones along with the pins.
Mushrooms that grow from the sides
Where there is less penetrating resistance and light penetration, mushrooms flourish. The light beaming on the sides of the cake may encourage the growth of mushrooms. This is difficult to argue against and is permissible. To keep the edges of the grow box dark, some growers wrap aluminum foil around them, but this isn’t always effective.
There are mushrooms that can be plucked right before the kit is soaked.
pristine hands After removing the grow box from the bag, invert it onto the palm of your other hand. To get the cake to fall onto your hand, wiggle the plastic box. You can set the plastic box on a surface that has been cleaned. You can now pick the mushrooms from the cake’s sides with this free hand. Once every mushroom has been harvested, return the cake to its original location within the plastic box and proceed with the soaking step.
The end
A Magic Mushroom grow kit can be thrown away if no new mushrooms sprout from it after the second flush for at least three weeks, or if it becomes green, red, grey, or yellow.The grow kit may have become contaminated with bacteria or another fungus as a result of the color change. The Psilocybe cubensis Magic mushroom grow kit is finished and should be tossed outside in the trash. No further mushrooms will grow from it.
Spores
When you are too late picking the mushrooms, they will drop their spores. The cake and the mushrooms will turn black/purple (some other cubensis strains red/brown) because of the spores. This is not really a problem; it just doesn’t look very pretty. When mushrooms release their spores, they also start to degrade and the active ingredients are breaking down. Mushrooms will lose some of their potency.
Be sensible
Check out the responsible use page for more information on do’s and don’ts.



Beeshask –
STELLAR SERVICE FROM THE BUSINESS AFTER SALE
Although the kit didn’t produce any mushrooms I was extremely happy with the level of service I received from psychedelic shrooms when I asked them for help. They asked me certain questions about what I did with the kit once I received it and how I used it to see what was causing the problem and offered solutions to try and make the kit grow mushrooms. When it became obvious that the kit wasn’t going to work they offered to send me a replacement at no extra cost (even on postage), and they also gave me the option to try a different type of mushroom to grow.If you yourself want to buy a kit but are worried that you will be stuck without help you can rest assured that this will not be the case. There are details in the kit that tell you how to contact psychedelic shrooms and they genuinely care about you getting a crop of mushrooms from their kits. I received prompt responses whenever I sent them a message and I can safely say that this is the best business I’ve dealt with in a long time that put in the effort into their after sales care.